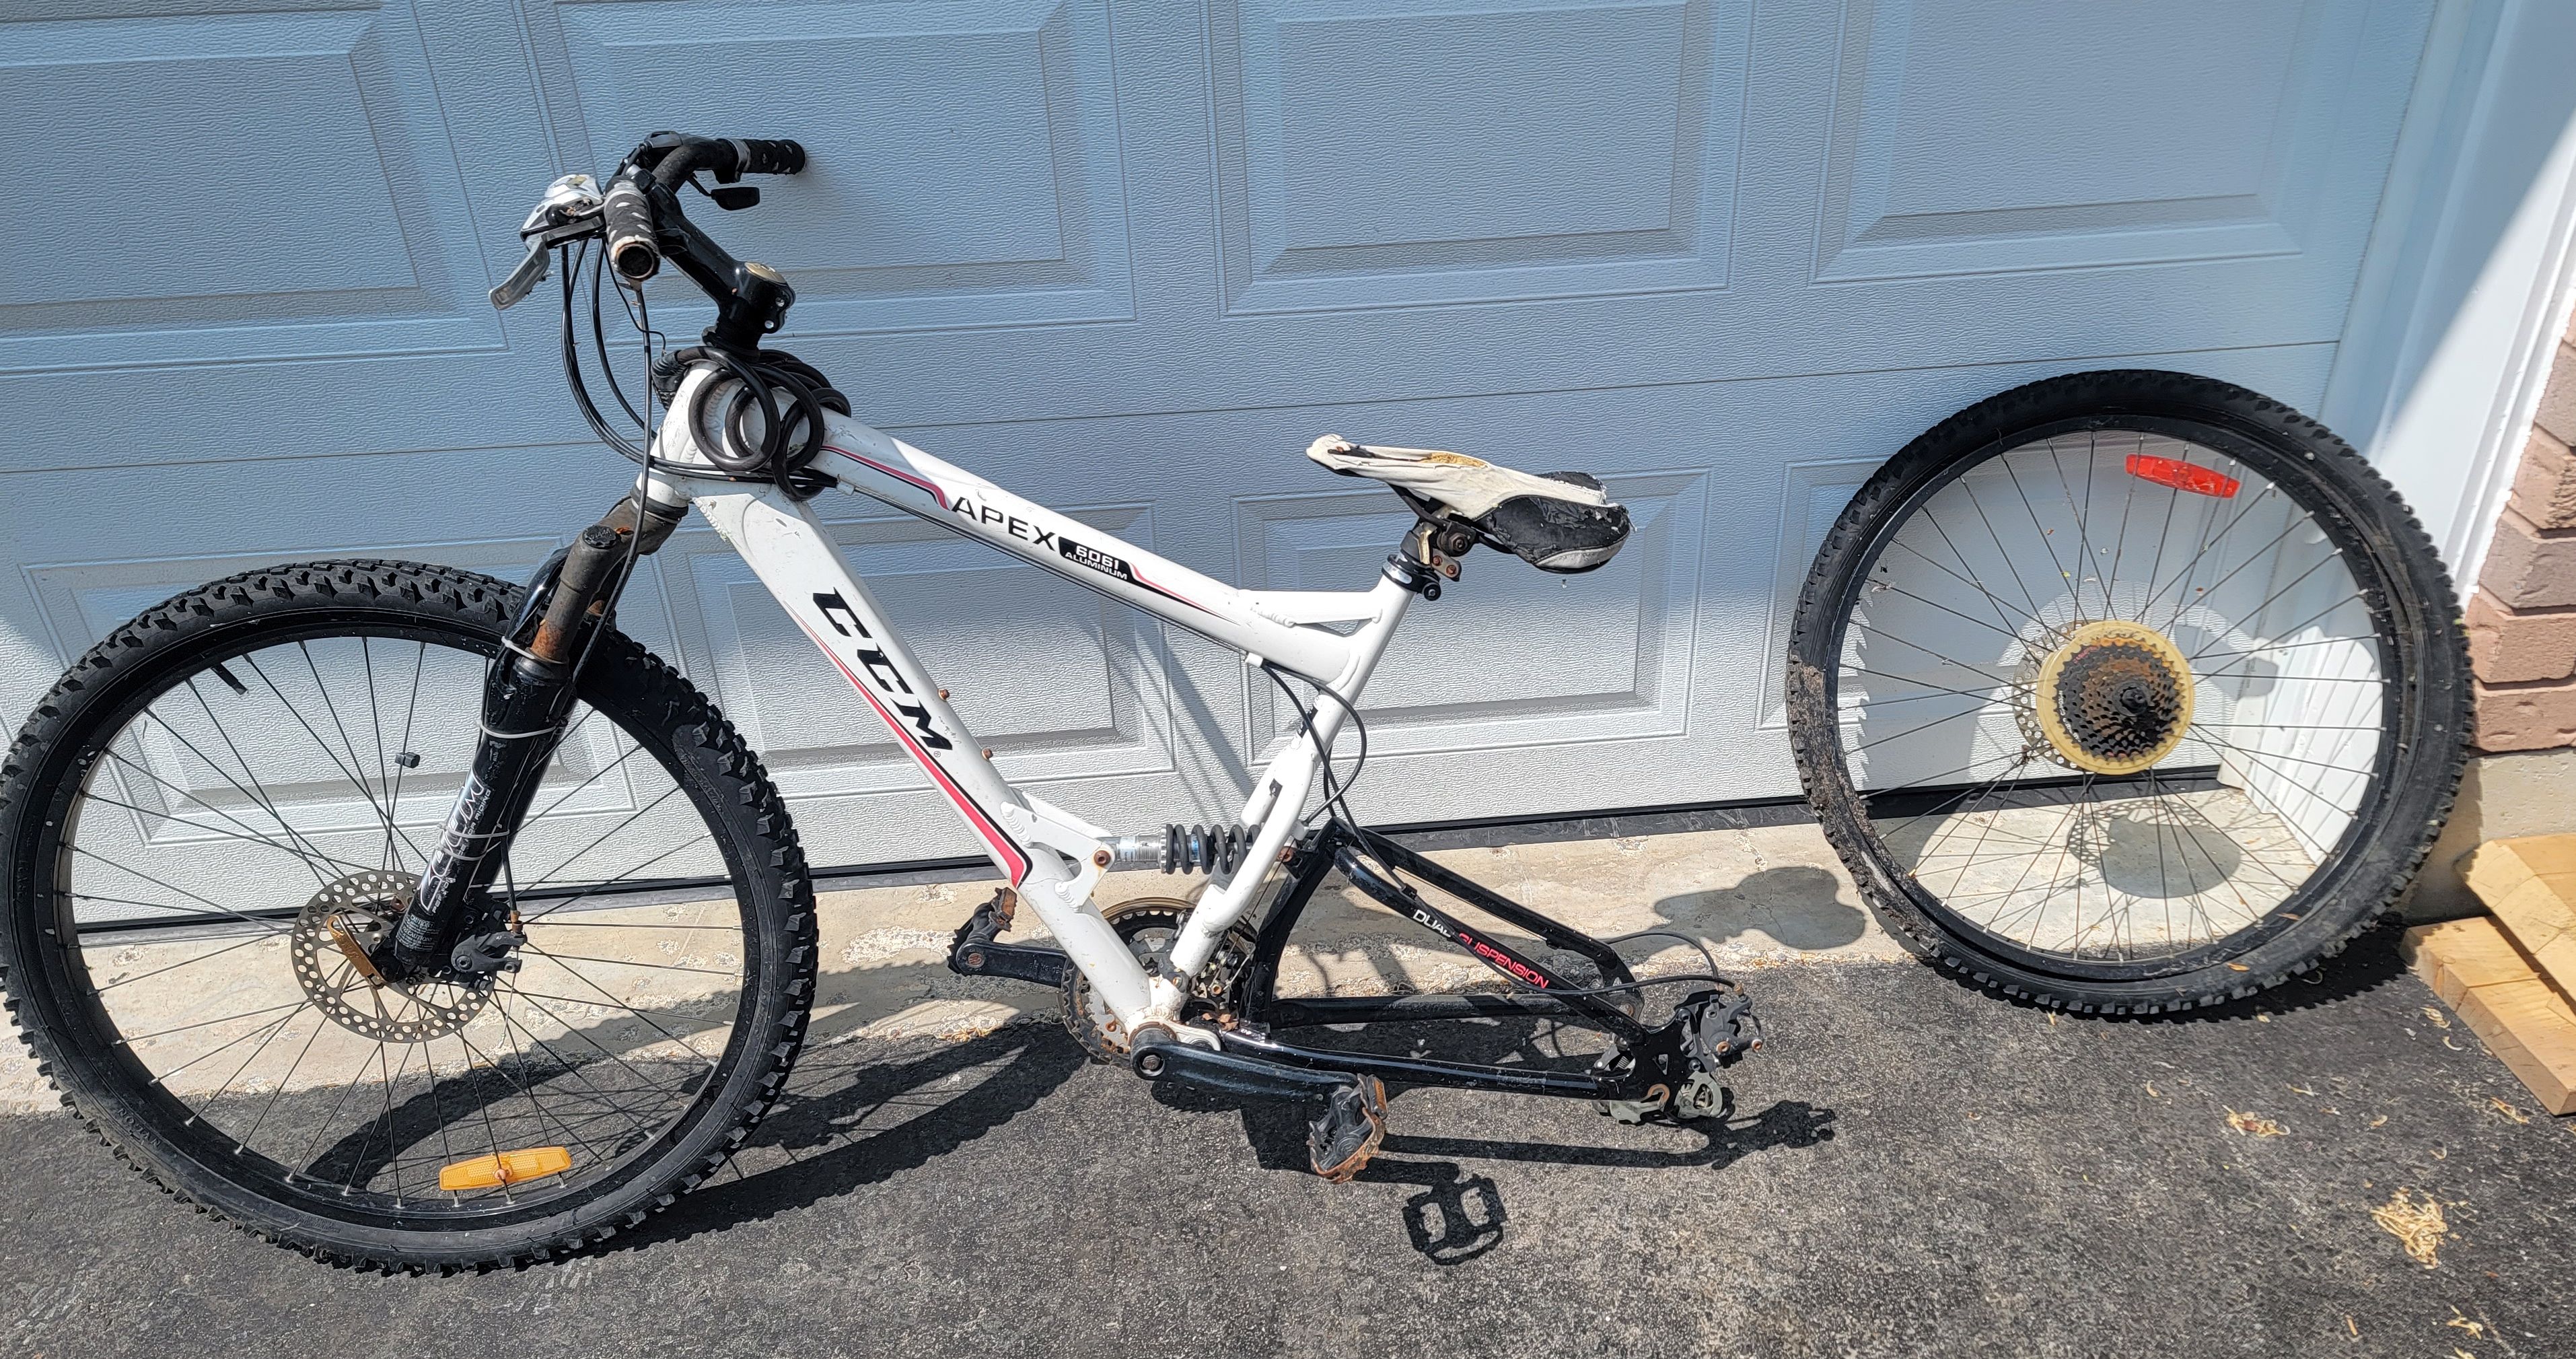
I have two "donor" bikes to choose from for my eBike build project. The likeliest of the two is an older CCM Apex 6061 aluminum frame bike. Both donor bikes have significantly damaged parts. Essentially, I will end up replacing:
- rear wheel assembly
- rear derailleur
- front and rear brakes (including rotors and calipers, switching from mechanical to wire-pull hydraulic)
- seat
- handlebars
- tires and tubes
- pedal crankshaft (from 3X to 1X) and new pedals
- bottom bracket (with sealed unit)
- ... well, pretty much everything: only the frame, front wheel and fork, and front tire are good
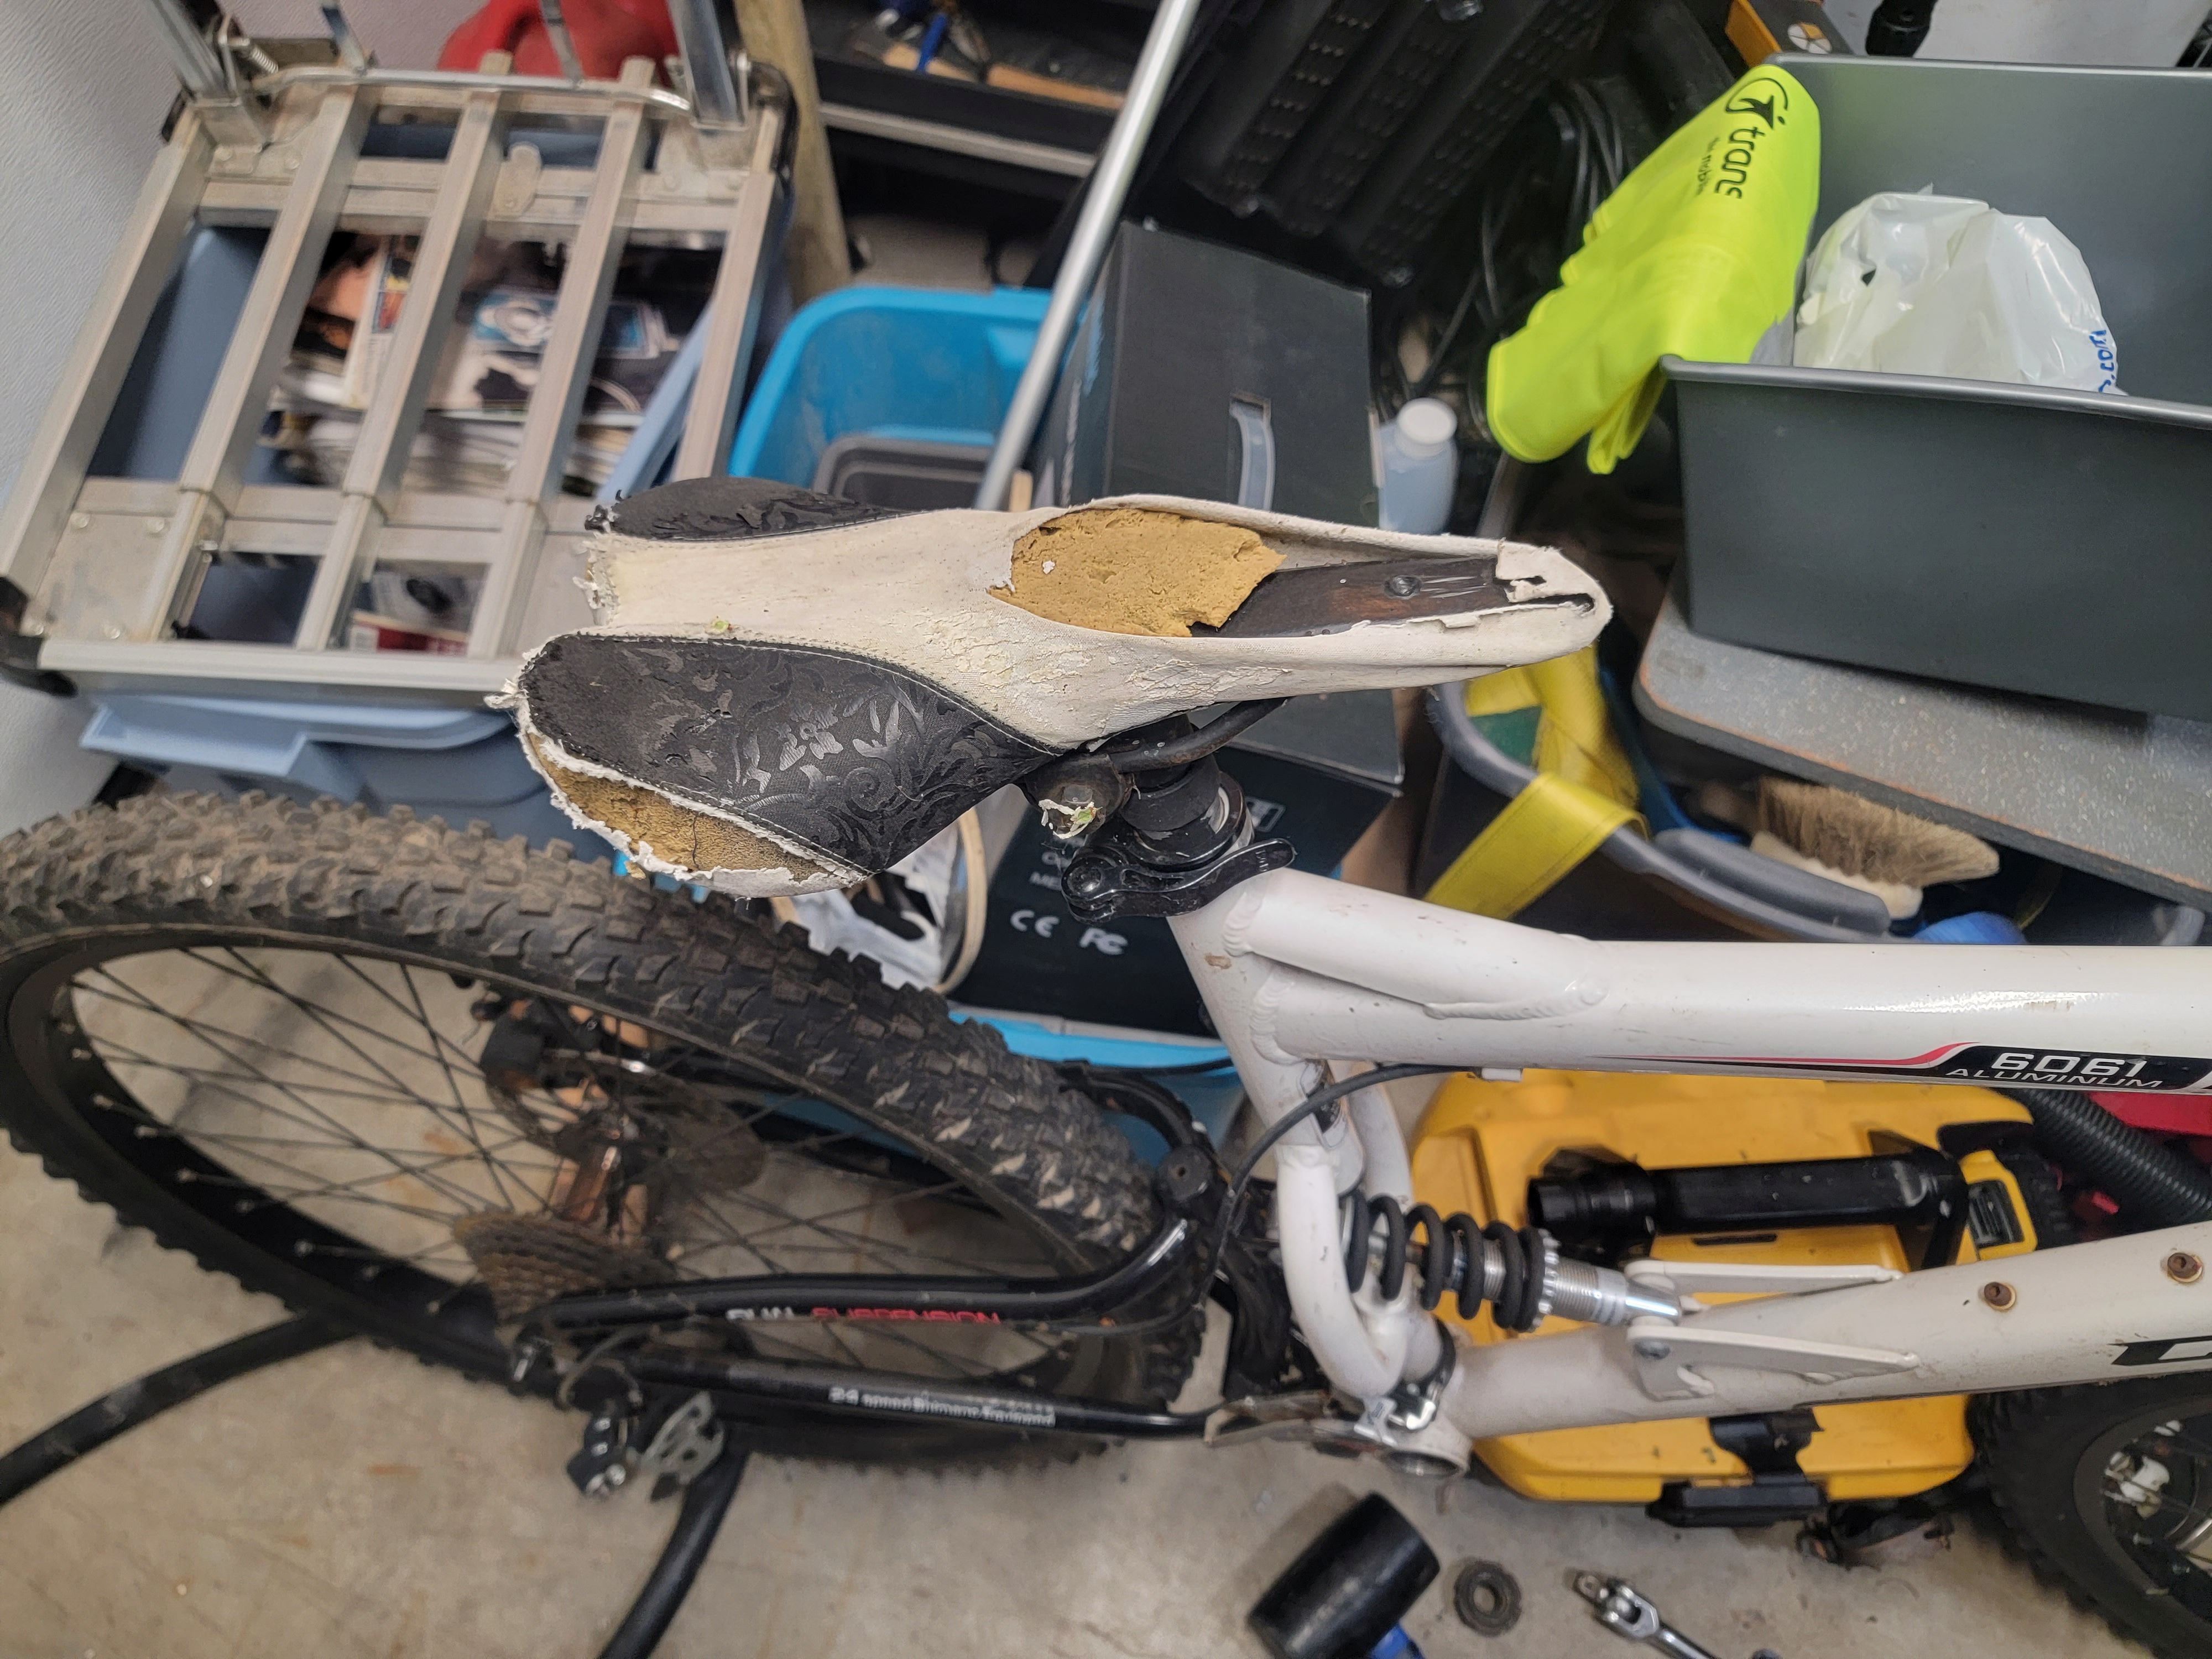
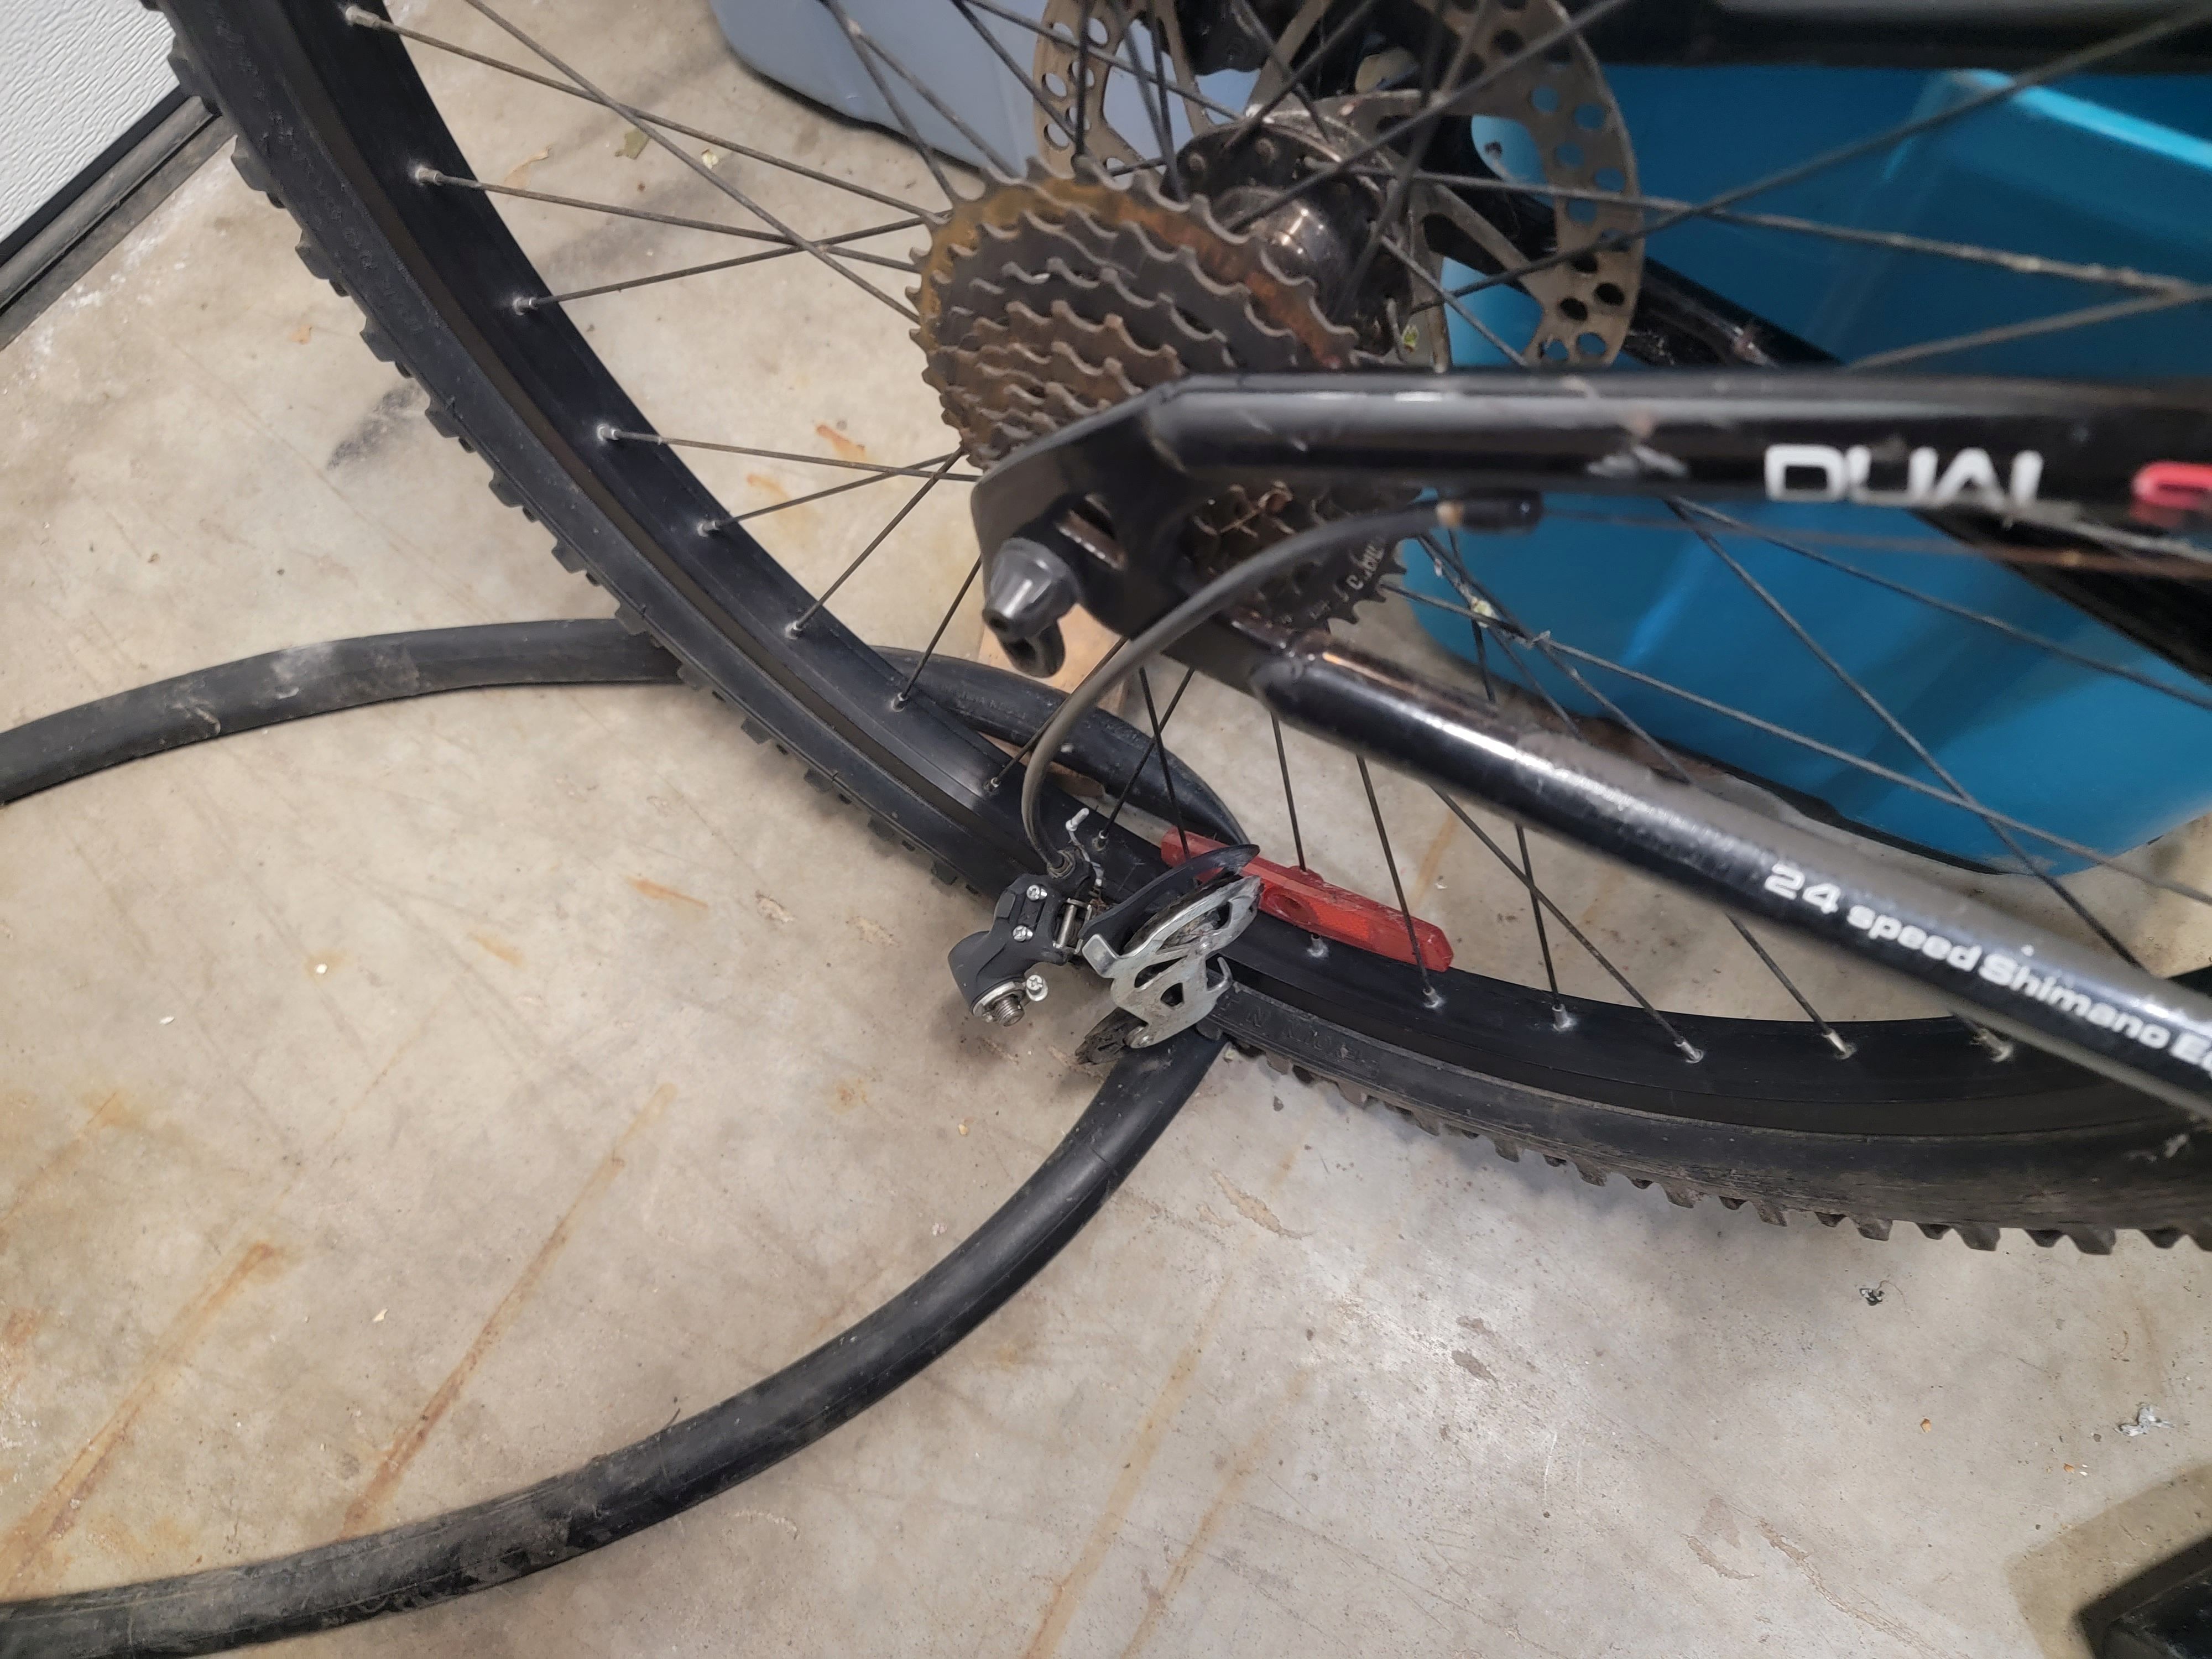 The bike is "rode hard, put away wet" ... an old phrase meaning it is in really rough shape. It's been in storage for a few years and something has been eating away at the seat, likely for nesting material. The rear wheel is damaged. I recall having repaired the rear wheel some years ago ... but the tube blew while driving on gravel road. The rim pressed on the rubber/nylon tire and damaged it beyond repair. I've since repaired the rim, added a new bike tube strip to better protect the tube, then added a replacement tire. That center plastic around the freewheel gears was damaged and I've removed it.
The rear wheel is not needed in an ebike conversion. It gets replaced with a new wheel and electric motor. I'm repairing it anyhow.
The rear suspension components are in good shape. No replacement needed there, although I will CLA (clean, lubricate and adjust).
The front suspension, however, will end up being replaced with the front suspension of the CCM Incline.
One of the most challenging fixes on a bike is the bottom bracket. This one was one of the most difficult I have ever done. What you have to do is remove the pedal arms and crank to expose the bottom bracket. That requires using a crank extractor – this was so impacted that I ended breaking my nearly-new crank extractor. The left side came off hard, the right side is the one that broke the extractor. I had to wait for delivery of a new crank extractor from Amazon.
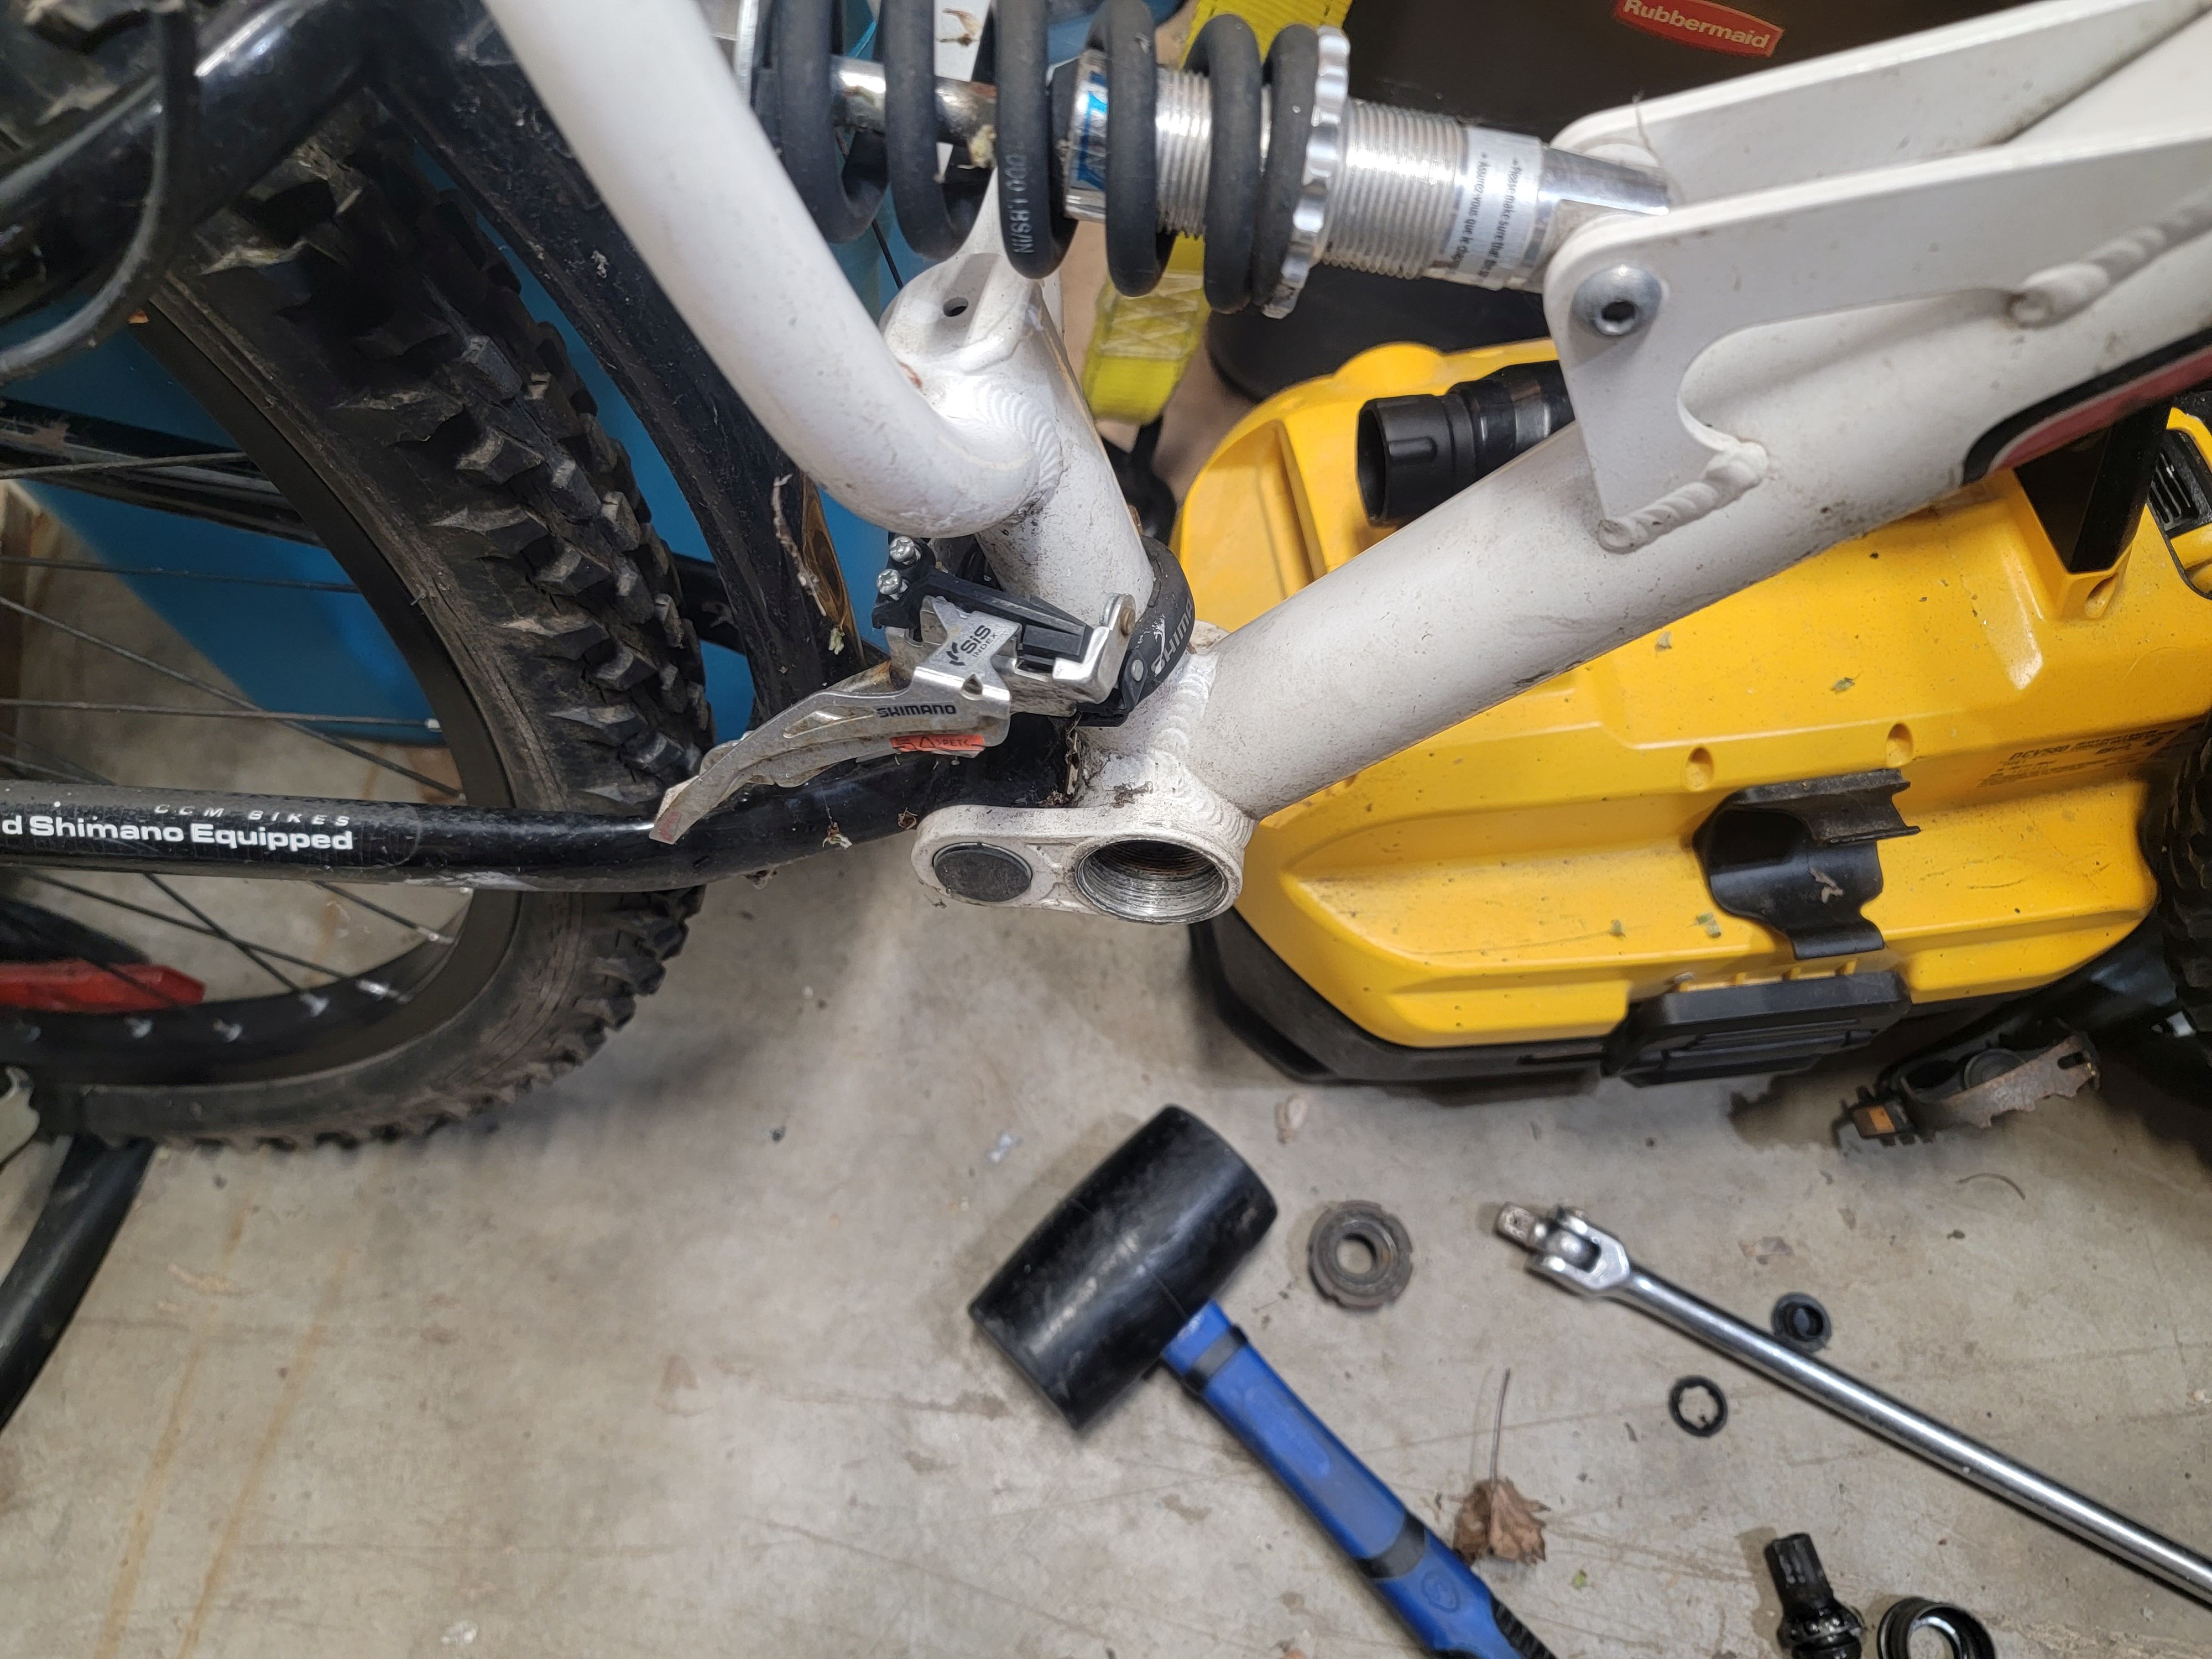
That was a challenge, plus I had to take a calculated risk with the removal of the bottom bracket. There is a special tool to remove the bottom bracket. It's a threaded part and would not budge. Even with a breaker bar. Part of the problem is the tool doesn't have any depth to catch. You end up having two difference forces at play, the first is keeping the tool pushed in to catch, and the second force trying to turn the tool to undo the threading.
Here's where the calculated risk came in: I ended up using my torque gun. The risk: this is an aluminum frame. If I end up turning the wrong way, or applying too much force, the aluminum will be ruined and the frame rendered useless.
Fortunately, it worked. As I write this, I am awaiting delivery of the new bottom bracket. I'm spending time writing up this article and planning how I will end up painting the frame. I will first fully assemble the bike (without painting). This is a proof of concept first and commit to paint after. LIkely: a candy apple red for the triangle portion, and candy apple ghost black for the front forks and rear arms.